1971 Laverda SF Freshened Gearset
When I tore down the engine of my 1971 Laverda 750SF to repair a blown piston I also split the cases in order to check the transmission and crankshaft. There was a good bit of pitting on the teeth of some gears, which I attribute to the years that the bike sat unused in a damp garage a hundred meters or so from the Garonne River in France.
Fortunately I had purchased a pile of Laverda 750 spares earlier this year from Richard Backus which included the bottom end of an SF2 that had been built by Scott Potter. So I first planned to take the gearset out of that engine and use it in the SF, but before I got around to it I noticed an allegedly good gearset from another SF2 on eBay for a very reasonable price ($250). One cannot have too many gearsets, I’m told, so I bought it. This page is devoted to disassembly, inspection and reassembly of that eBay gearset.
Correction! I ended up using the fresh gearset from the Backus pile to rebuild the 750SF after all, because Scott Potter came into town with some time to help me and that was the fastest way to get the bottom end together.
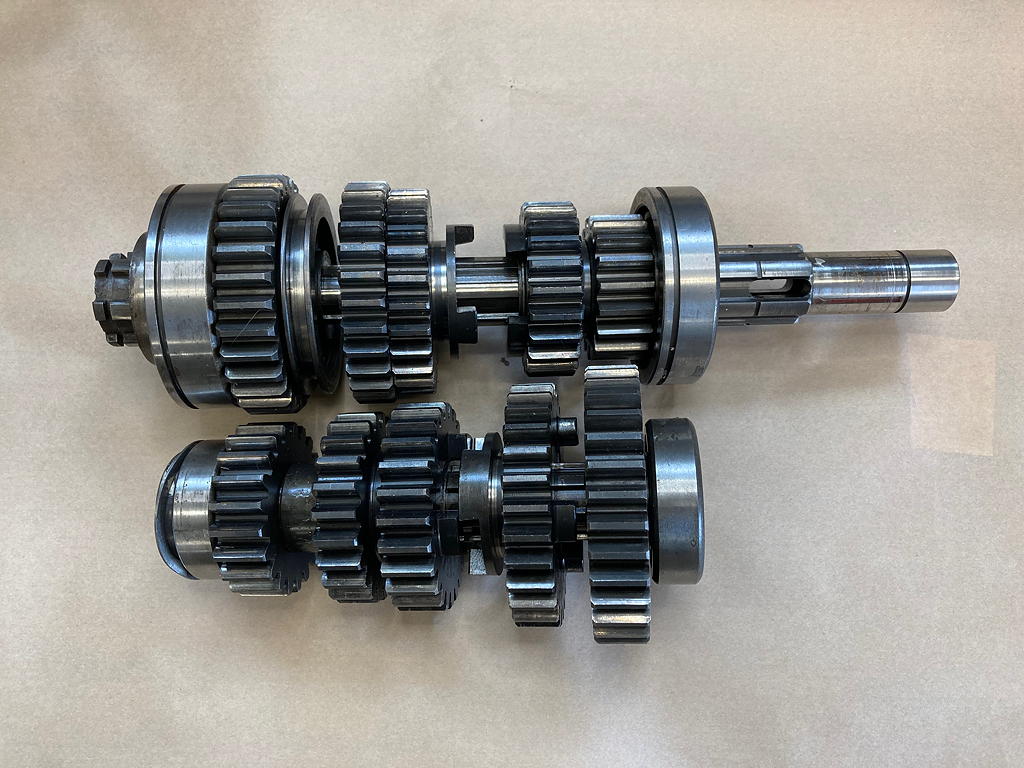
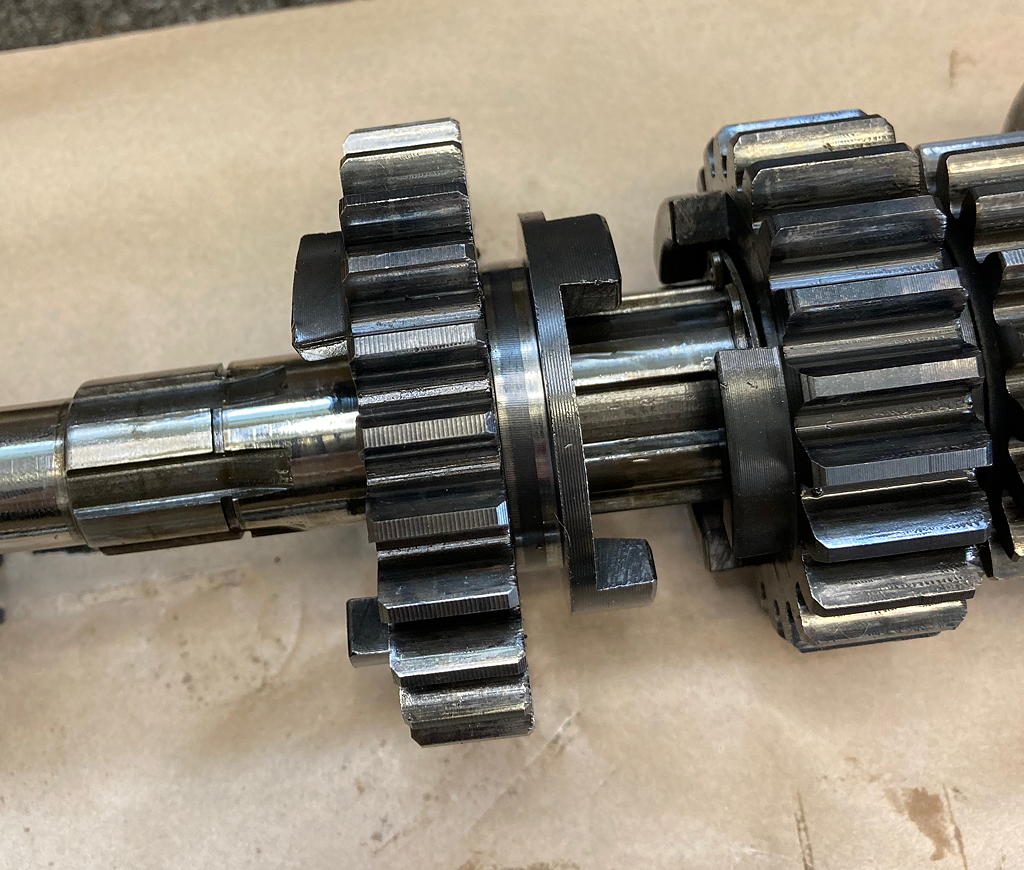
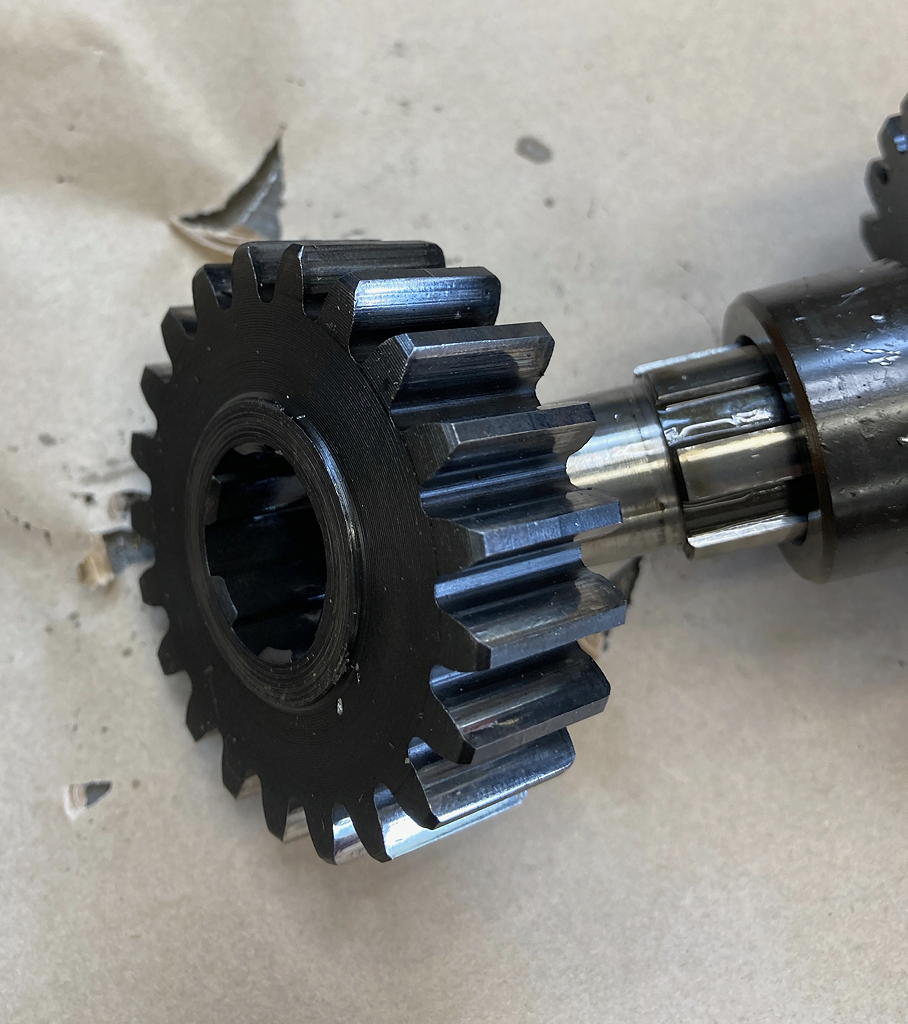
The first impression of the gearset is good. The gear teeth are in better condition that the ones originally in the SF.

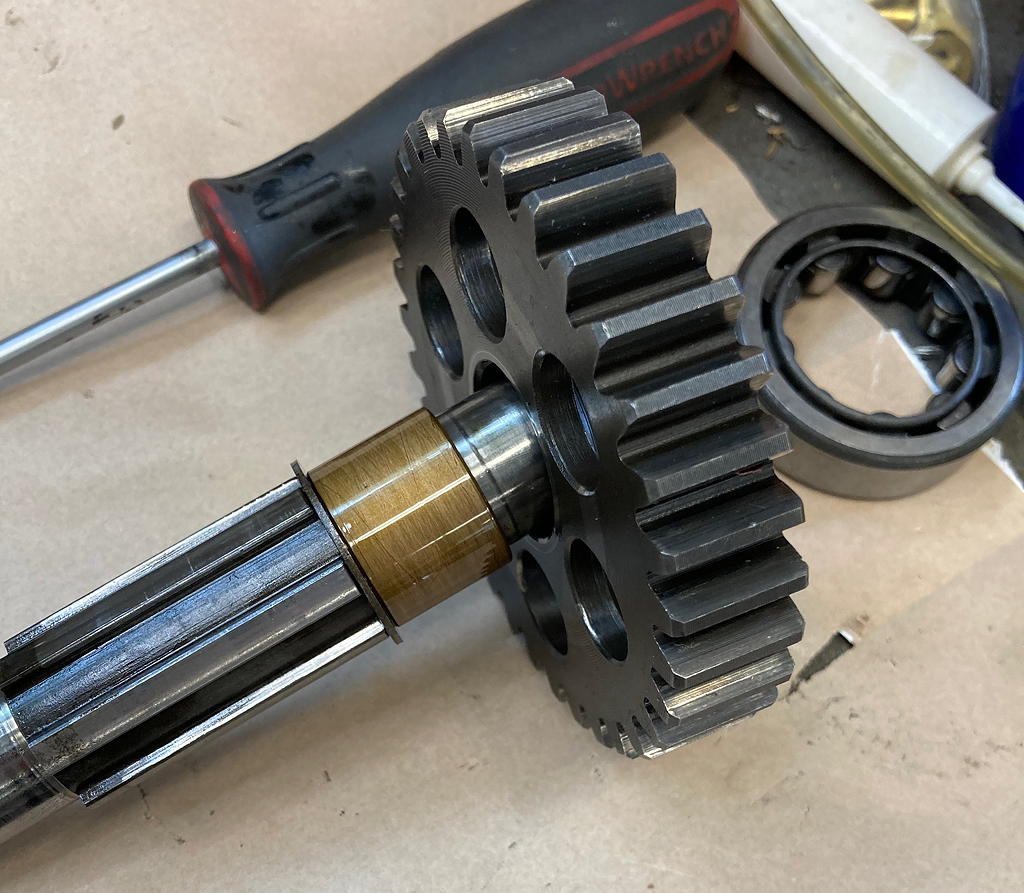
The countershaft has roller bearings at each end with inner races pressed on the countershaft. You’ll need a clamshell puller for these. The cheap Pittsburgh brand kit you can find at Harbor Freight will do the job (at least once).
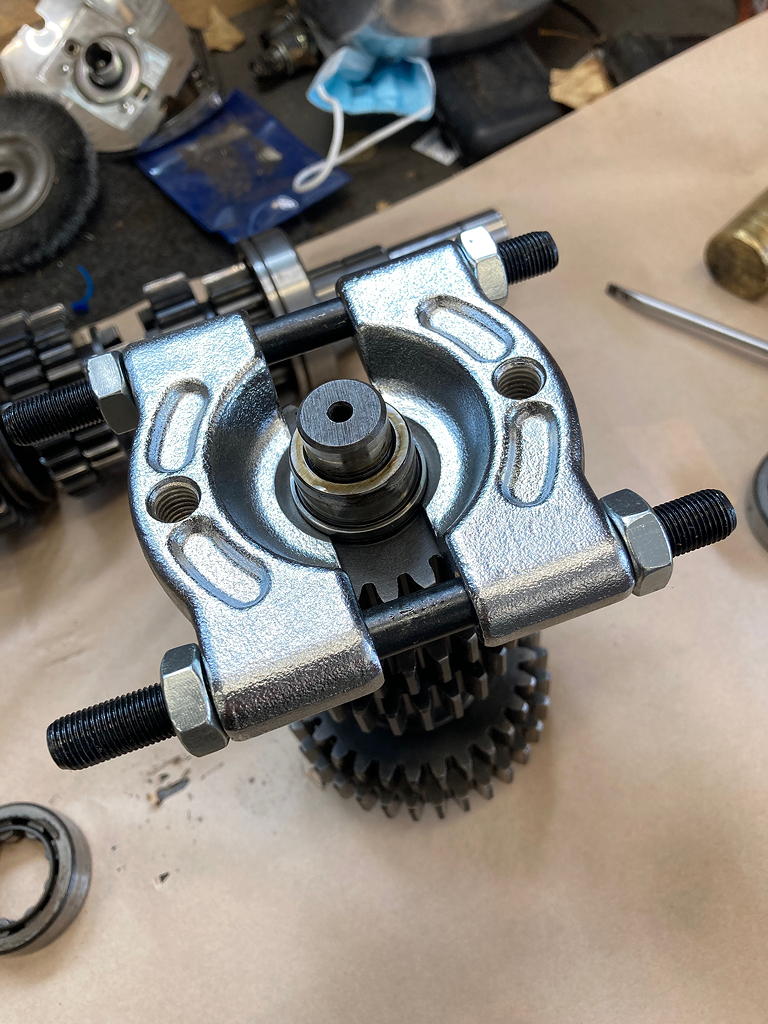
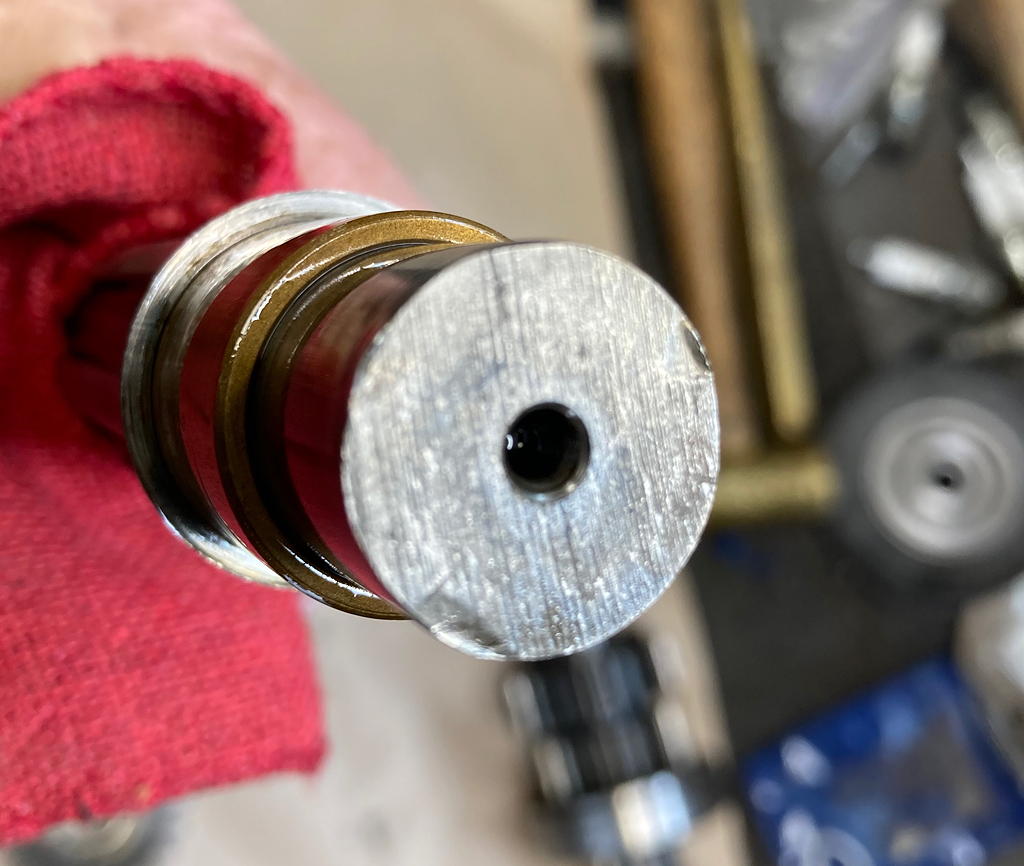
The inner race on the 5th gear side of the countershaft came off as one would expect but the one on the 1st gear side was really tough. I had to heat it pretty thoroughly with a torch before it would move at all and then it still fought me all the way. The next photo shows why it was so stubborn.
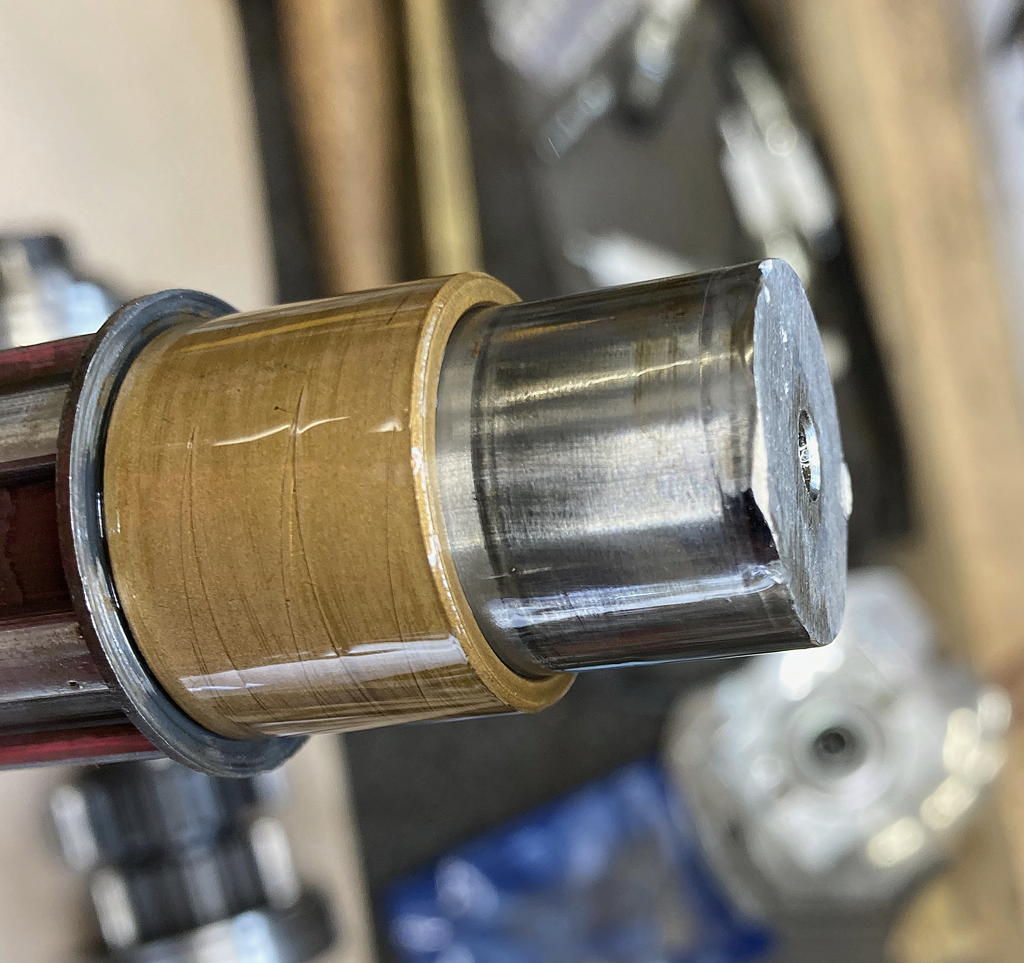
The factory stakes the end of the 1st gear side of the shaft after the inner race is installed, to prevent any movement. You can see the stake marks clearly on the next photo. On the 5th gear side there is a circlip holding things in place, so no need for staking.

Now we move to the mainshaft.
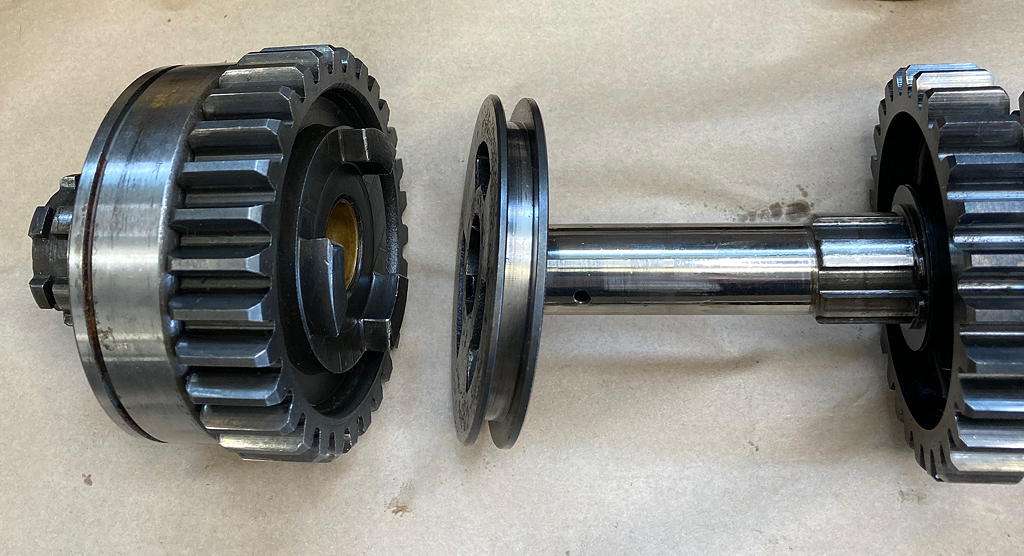

The thrust washers (there are two on the mainshft) have teeth on the inside diameter that engage the splines on the mainshaft.
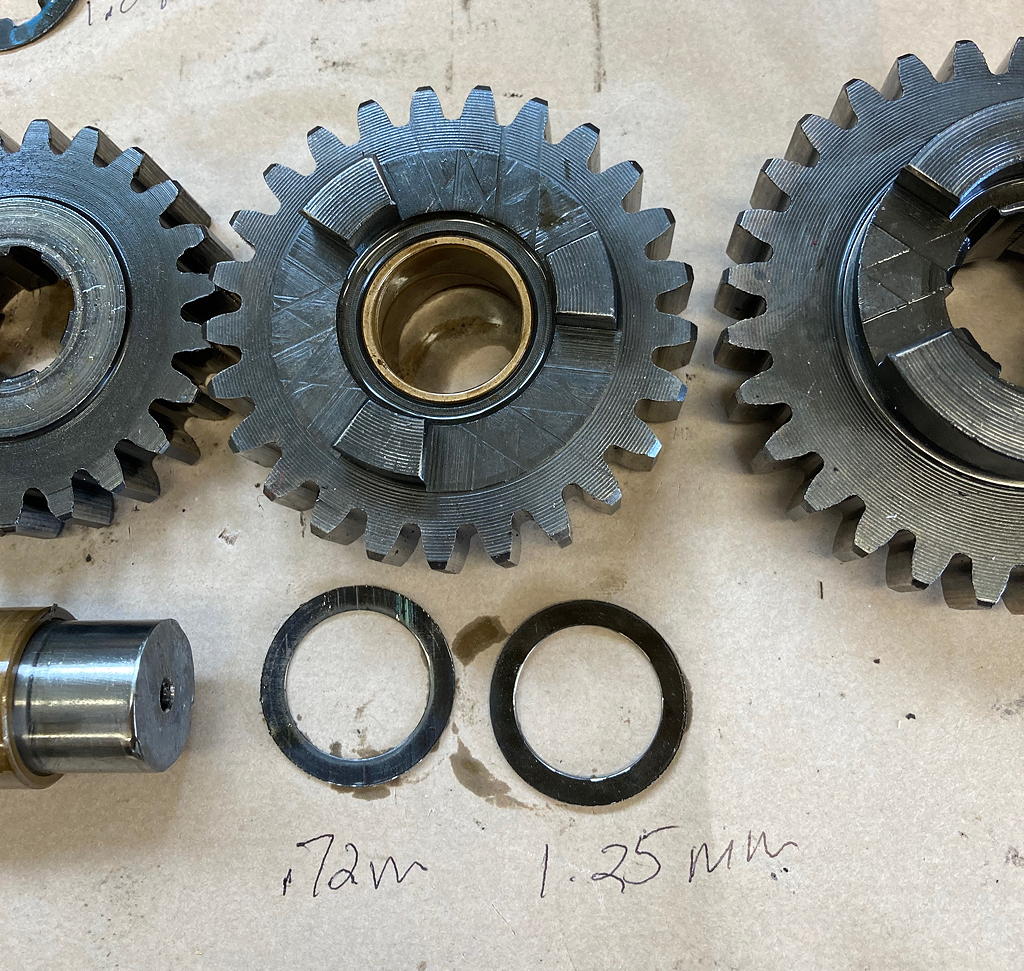
The parts book shows a single shim between 3rd and 4th gears on the mainshaft, which is nominally either 0.5 mm or 1.0 mm thick, but this one had two shims that I measured at 0.72 and 1.12 mm. I will need to be careful about tolerances upon reassembly.
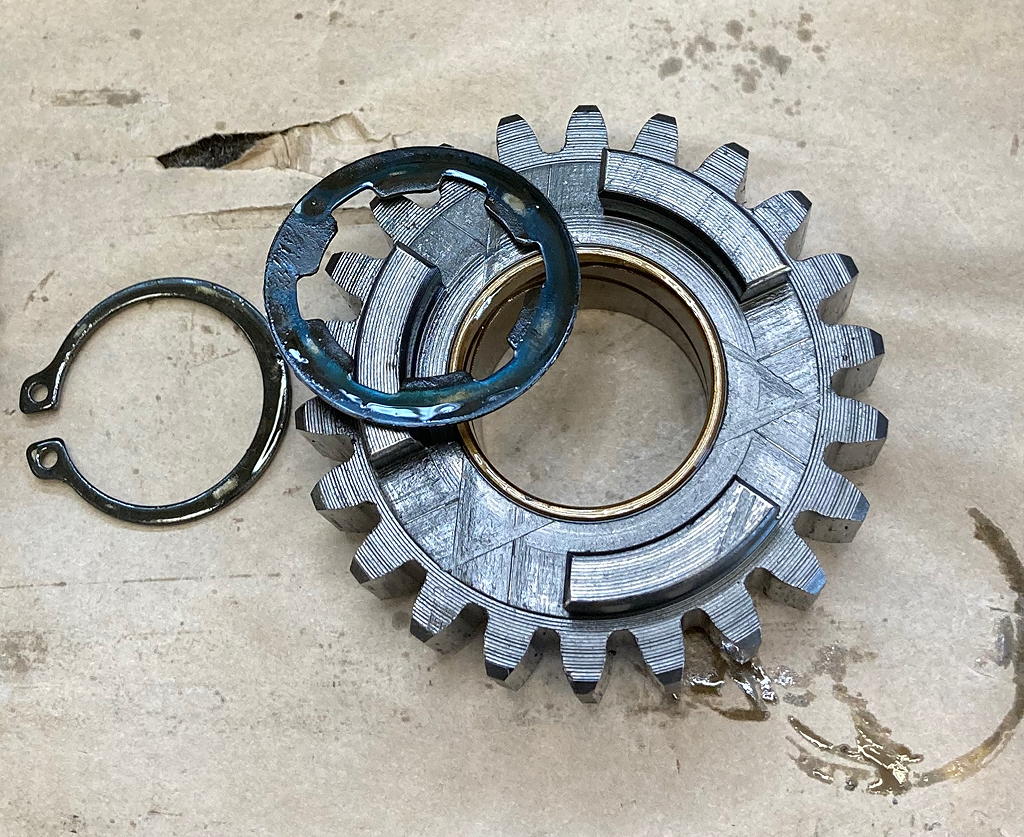
There is another thrust washer and circlip retaining the mainshaft 2nd gear against first gear which is part of the mainshaft.